Managing your Bookings
After clicking on a booking you can manage a number of things about that booking.
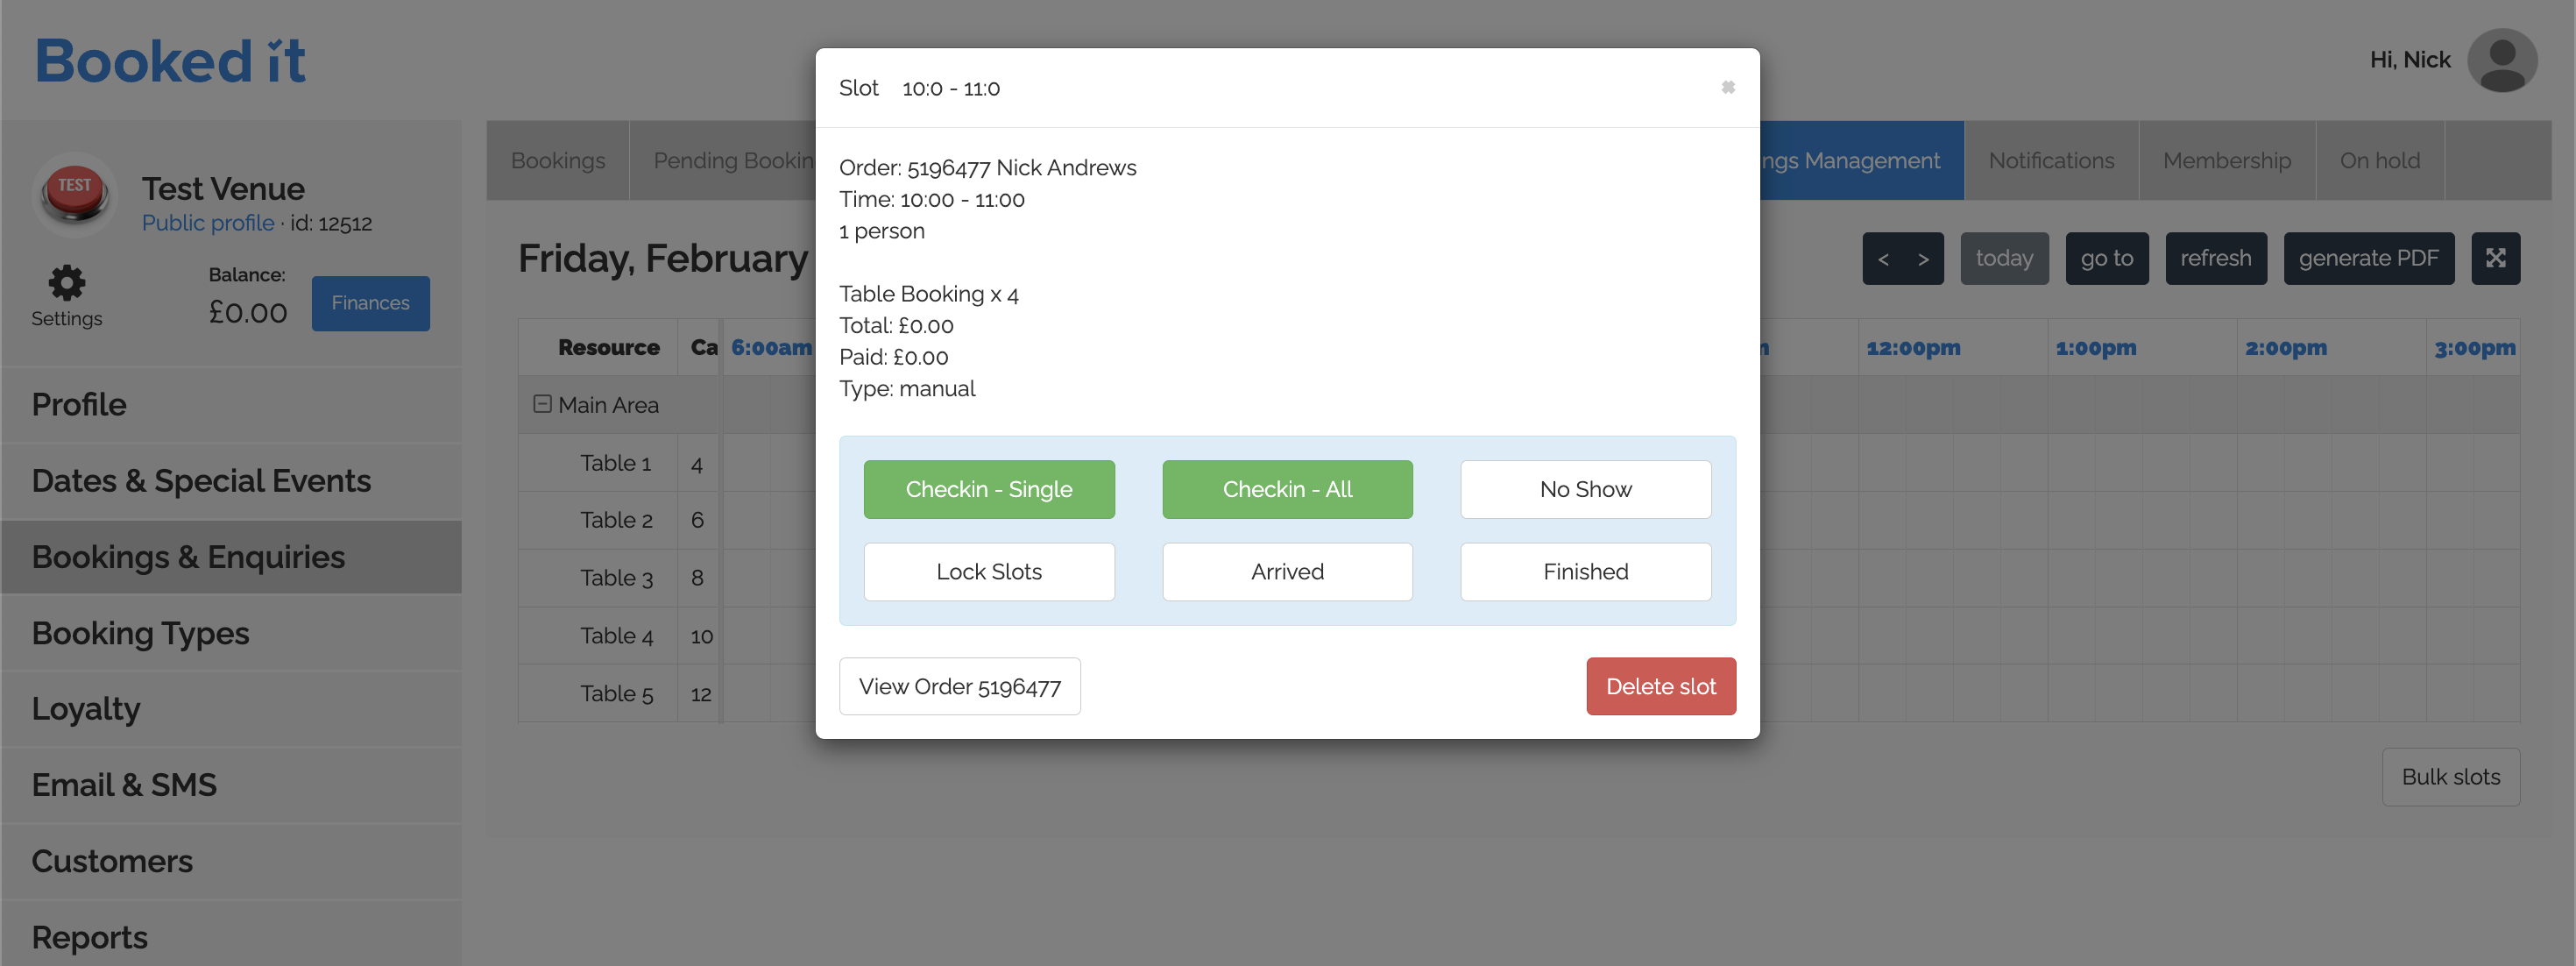
Checkin Single - Changes the exact Resource you have selected to Grey to show a customer has arrived.
Checkin All - Changes all resources linked to the booking you've selected to Grey to show all customers have arrived.
No Show - Show that a customer hasn't arrived.
Checkin All - Changes all resources linked to the booking you've selected to Grey to show all customers have arrived.
No Show - Show that a customer hasn't arrived.
Lock Slots - You can use the lock slot feature to prevent the resource from being dragged around by mistake.
Arrived - Show that a customer has arrived and started their booking.
Arrived - Show that a customer has arrived and started their booking.
Finished - Show that a customer has completed a booking, this may allow you to re-allocate the resource.
Related Articles
Using Bookings Management
Once Bookings Management has been enabled and the Zones and Resources are set up, you will be able to find it on the Bookings and Enquiries tab. Click the little calendar icon to see the Bookings Management view. You will see your zones are set as ...How To Edit A Booking
Booked It gives you the option to edit your bookings, too. Here’s a little walkthrough of how you can edit your bookings. Editing A Booking To start, log into your account Select the Sales & Enquiries tab from the left pane. Now, scroll down the ...How to Create a Zone
If you would like to use the bookings management calendar please let your account manager know so they can make sure the relevant settings are activated for you. This will allow you to create Zones and Resources on the Settings tab of your dashboard. ...Pending Bookings
Any booking that is awaiting confirmation will show here, it's most likely that the booking has an outstanding payment It's possible to convert this booking to a live booking with an outstanding payment by clicking this button on the booking. You can ...How To View A Particular Booking
Booked It allows you to view details for each booking made for your venue. Follow the steps to find out how: Viewing A Particular Booking Inside your Booked It account, click on the Sales & Enquiries tab. Scroll down to view the details of each ...